لماذا يفضل المطورون العقاريون المصاعد الذكية؟
شهد قطاع التطوير العقاري في السنوات الأخيرة تطورًا كبيرًا بفضل اعتماد التقنيات الذكية في تصميم المباني وإدارتها. ومن أبرز هذه التقنيات المصاعد الذكية التي أصبحت خيارًا مفضلًا لدى المطورين العقاريين…

شهد قطاع التطوير العقاري في السنوات الأخيرة تطورًا كبيرًا بفضل اعتماد التقنيات الذكية في تصميم المباني وإدارتها. ومن أبرز هذه التقنيات المصاعد الذكية التي أصبحت خيارًا مفضلًا لدى المطورين العقاريين…
تُعد صفايات الستانلس ستيل من العناصر الأساسية في المطابخ والحمامات، إذ تلعب دورًا مهمًا في تصريف المياه ومنع انسداد الأنابيب. ومع ذلك، يرتكب كثير من المستخدمين أخطاء شائعة أثناء تنظيف…

يعاني مرضى الديسك وآلام الظهر من صعوبة في الجلوس لفترات طويلة على الكنب العادي، حيث يمكن أن يزيد التصميم غير المناسب من الضغط على العمود الفقري ويسبب ألمًا إضافيًا. لذلك،…

يعد شراء العقار في السعودية خطوة استثمارية كبيرة، سواء كان الهدف السكن الشخصي أو الاستثمار العقاري لتحقيق دخل مستمر. لكن النجاح في هذا المجال لا يعتمد فقط على اختيار العقار…

تعتبر الفينير أحد الحلول التجميلية الفعالة لتجميل الأسنان وتحسين مظهرها، إذ تُستخدم لتغطية الأسنان المتضررة أو غير المنتظمة. وعلى الرغم من أنها تعتبر إجراءً آمنًا وفعالًا إذا تم تنفيذها بشكل…

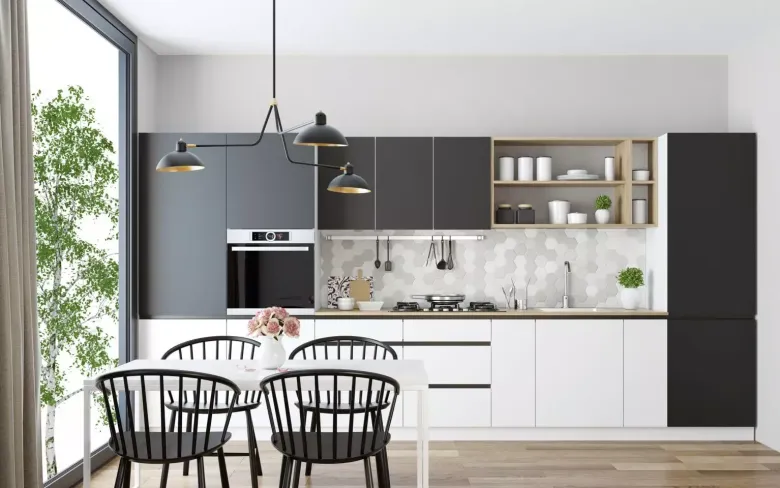
هل سبق لك أن قمت بتجربة السكن في منزل صغير؟ هل للسكن في منزل صغير أي سلبيات؟ تابع المقال الآتي للتعرف على أهم إيجابيات وتحديات السكن في منزل صغير. إيجابيات…

قمل العانة هو نوع من الحشرات الطفيلية التي تعيش في منطقة العانة وأحيانًا في مناطق أخرى من الجسم مثل الإبطين أو الرموش. ينتقل هذا النوع من القمل غالبًا عن طريق…

منصة X (تويتر سابقًا) تُعتبر واحدة من أكثر منصات التواصل الاجتماعي تأثيرًا، حيث تتيح للمستخدمين التعبير عن آرائهم والتفاعل مع الجمهور في حدود تغريدة قصيرة. عند كتابة محتوى مخصص لهذه…

عيادات التجميل تعتمد بشكل كبير على رضا العملاء وتقديم خدمات مميزة لجذب المزيد من الزبائن والحفاظ على ولائهم. إذا كنتِ تديرين عيادة تجميل وترغبين في زيادة عدد الزبائن، فإليكِ أفضل…

الانفصال بين الوالدين يعد من أكثر المواقف المؤثرة نفسيًا على الأطفال والتي قد يحتاج الطفل نتيجتها العلاج في مركز علاج نفسي للاطفال، حيث يمكن أن يؤدي إلى تغييرات كبيرة في…